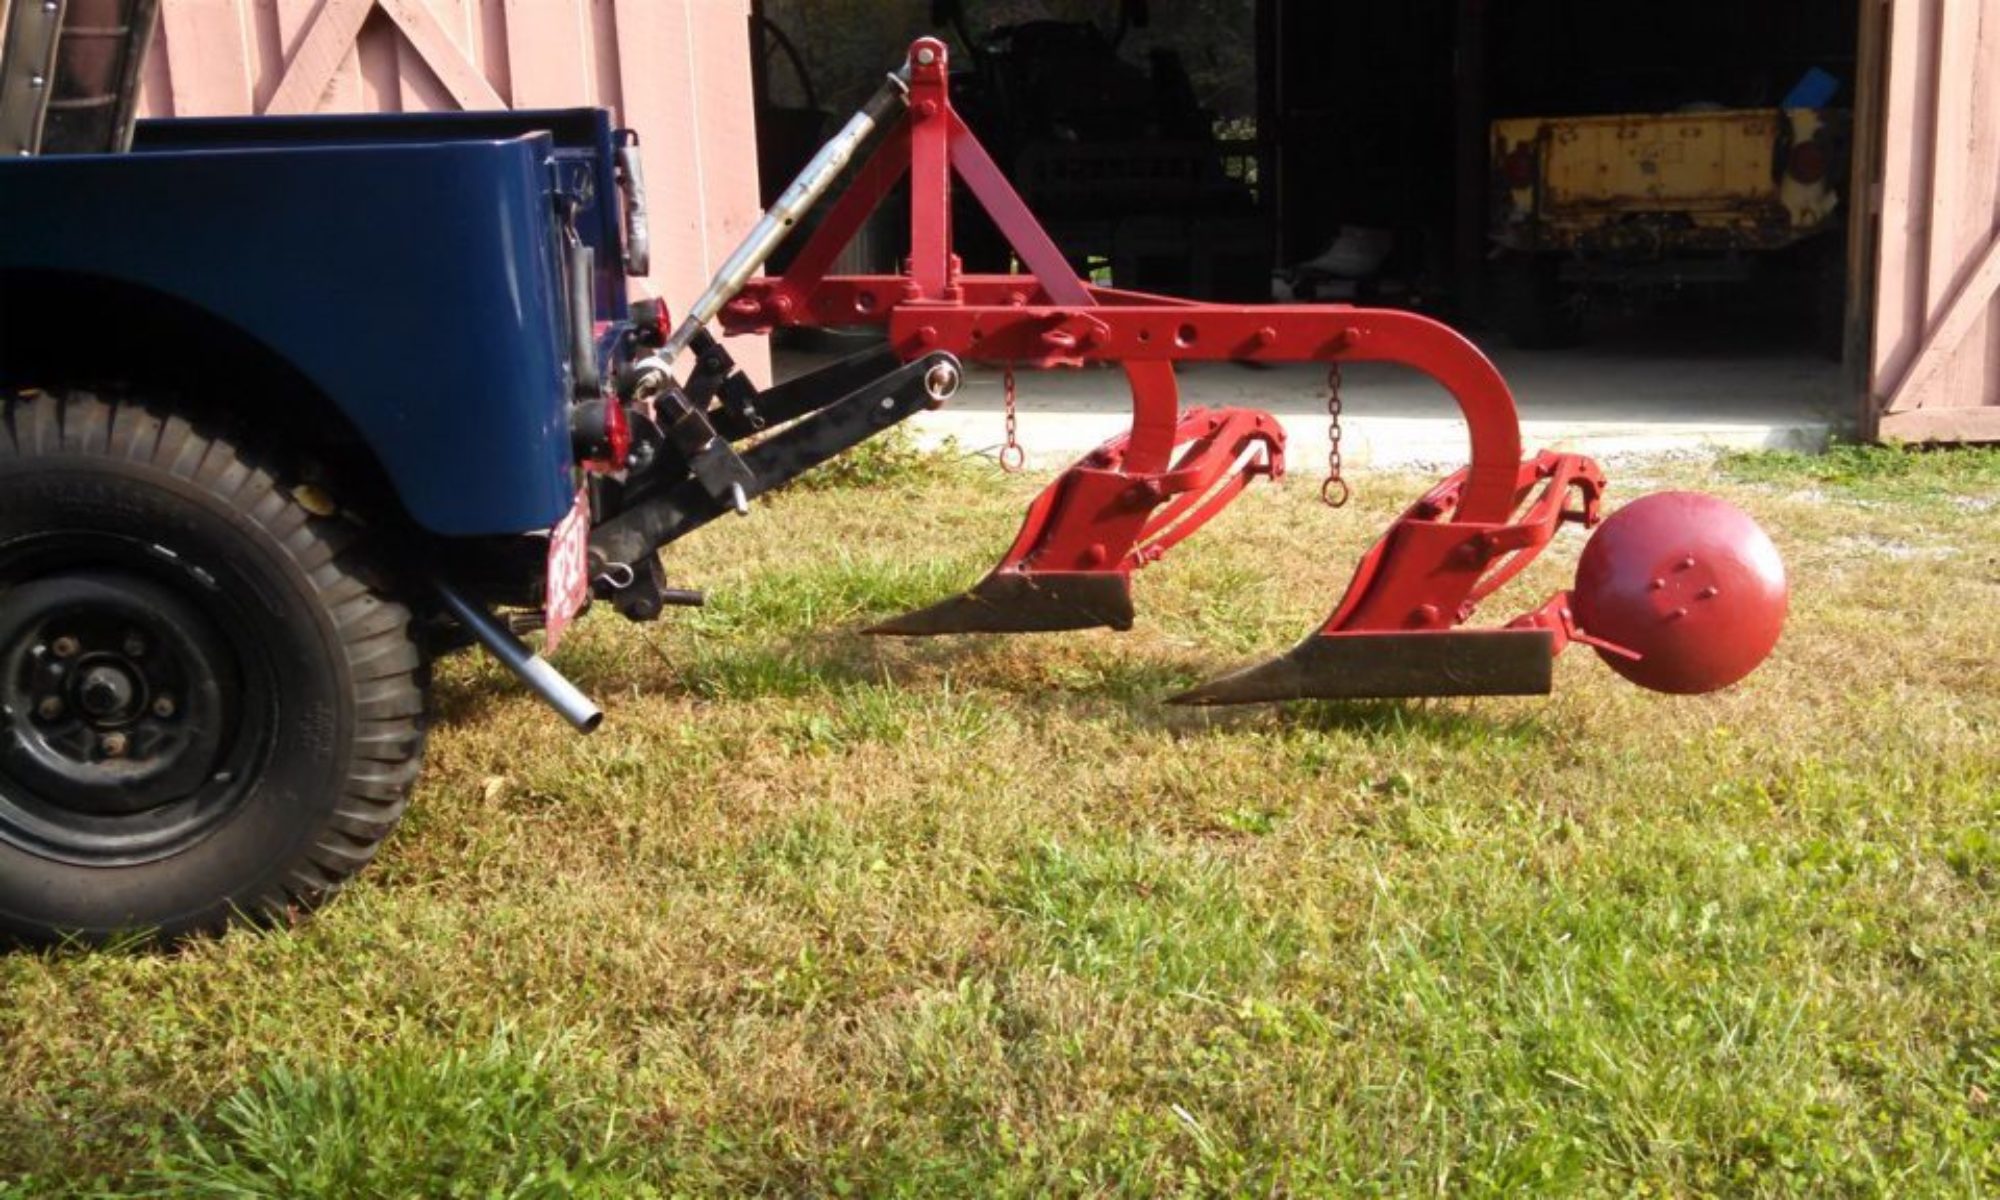
A few years back, we answered a question about building a farm Jeep using a Wrangler. Our response was that it was possible but we weren’t sure it would be a very useful setup. John Strenk’s post on the EarlyCJ5 page changed our minds. We asked John if we could share his story here.
John started his post this way -“Later CJs don’t have too many options anymore so I had to build my own 3 point hitch to groom my driveway every year. Here is what I came up with”
He was asked if he started with a snow plow setup and adapted it for the rear. John replied:
Yep, I always use to have 2 or 3 spare lift mechanisms from when I was in the business of plowing snow. Now I only plow once or twice a year. So I put one of them in to use.
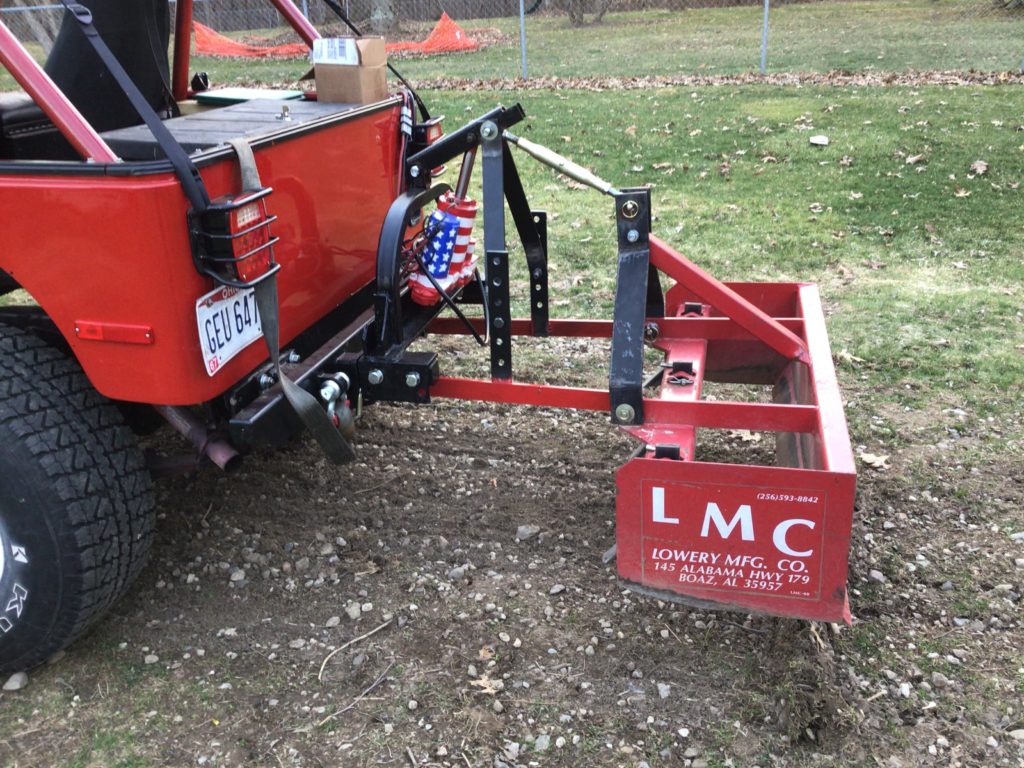
I started out with the basic Meyers E-47 lift frame for a CJ and measured the distance between the frame mounts.
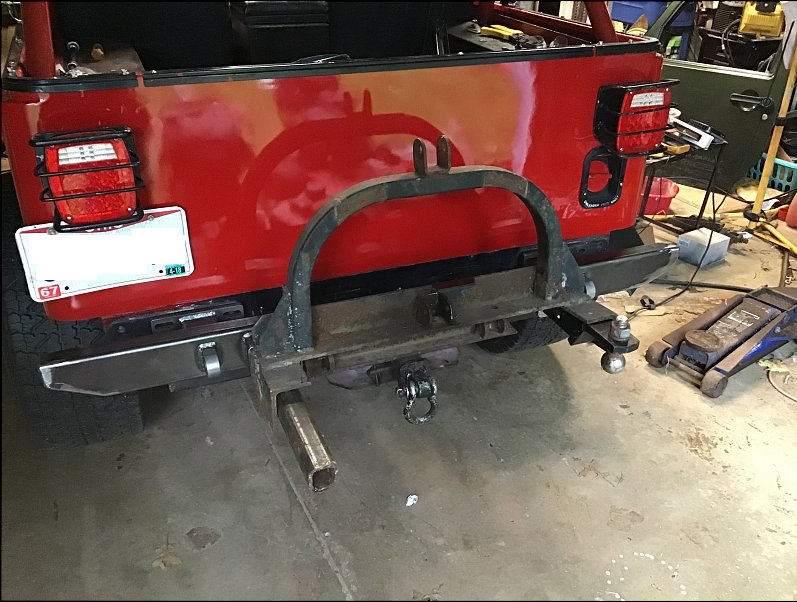
A friend of mine was just starting a business making CJ bumpers so we collaborated on a design and came up with this:
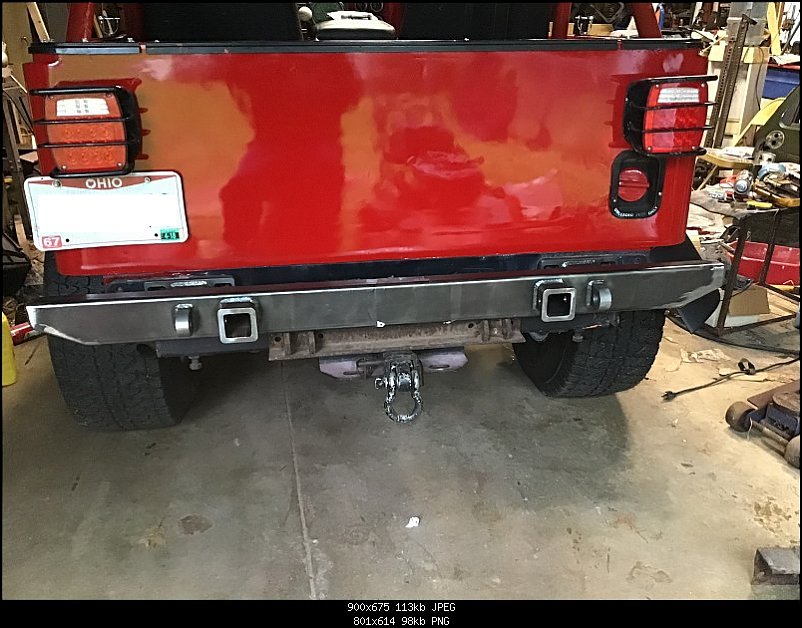
There are two 2′ receivers on it with the correct spacing. I put a 2’X2″X1/4″ square tube in there and attached the lift frame. Here is a trial fit to show you what I mean:
I already had a 2″ receiver mounted to the Jeep frame that was securely mounted to the frame rails. Even though this is an AFW frame, I wanted to put minimal load on the rear cross frame. To this I attached the Meyers lower plow mount, or part of it at least.
Pin sizes are all 5/8″ so I’m limiting it to Category 0 implements right now.
Might go to Cat 1 in the future.
I cut off the chain retainer off the top of the lift arm to attach the top link:
This actually works pretty good. I was surprised.
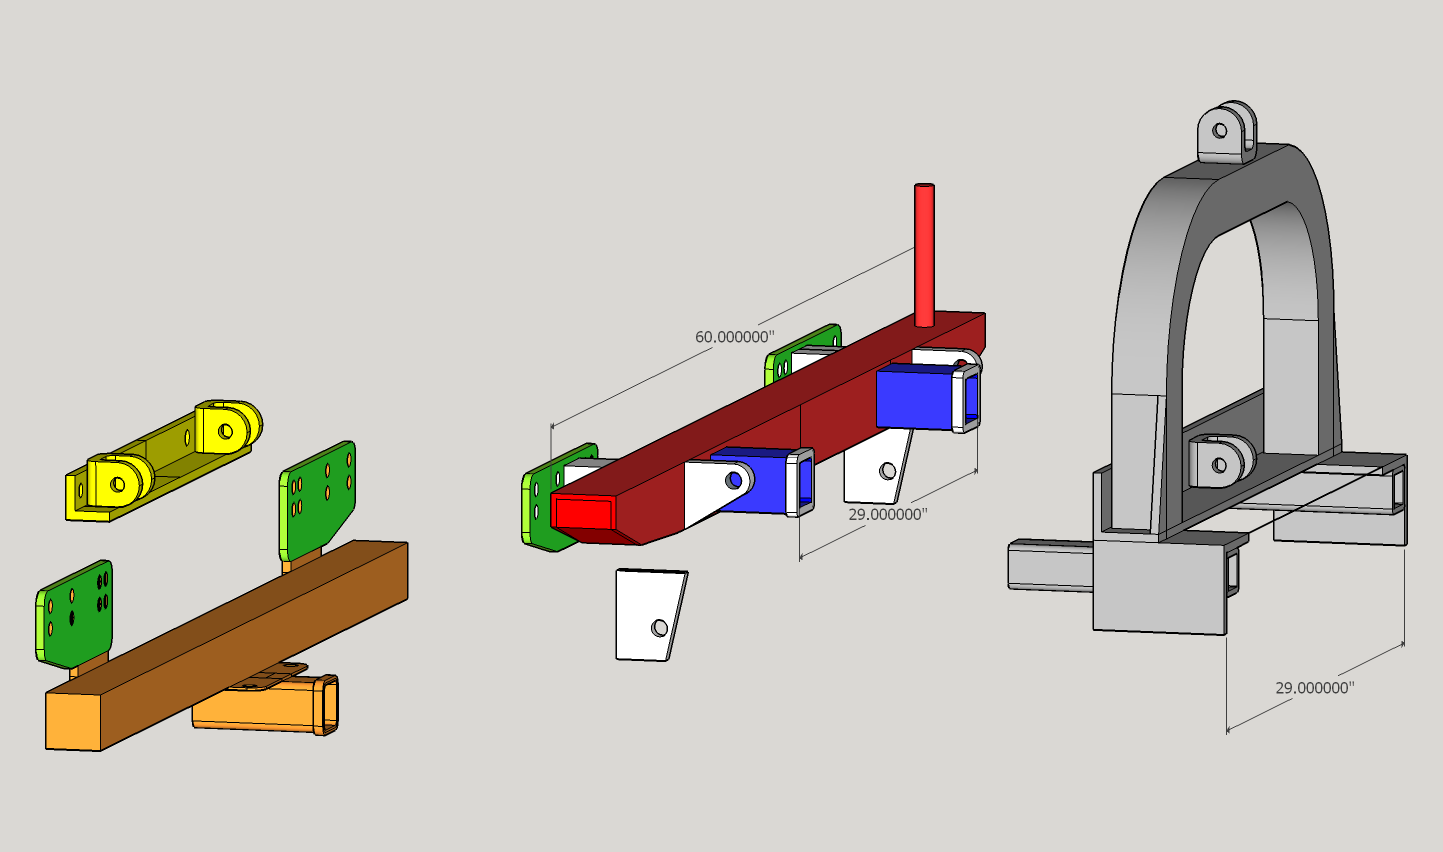
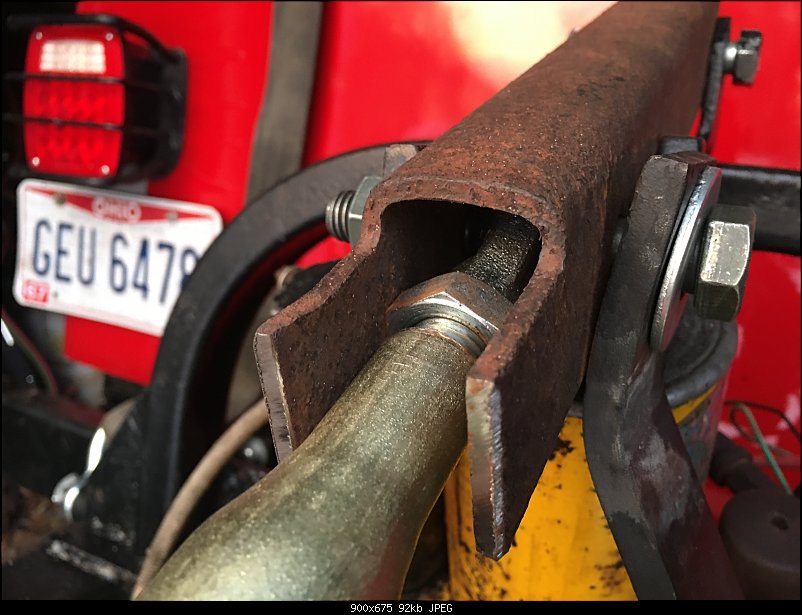
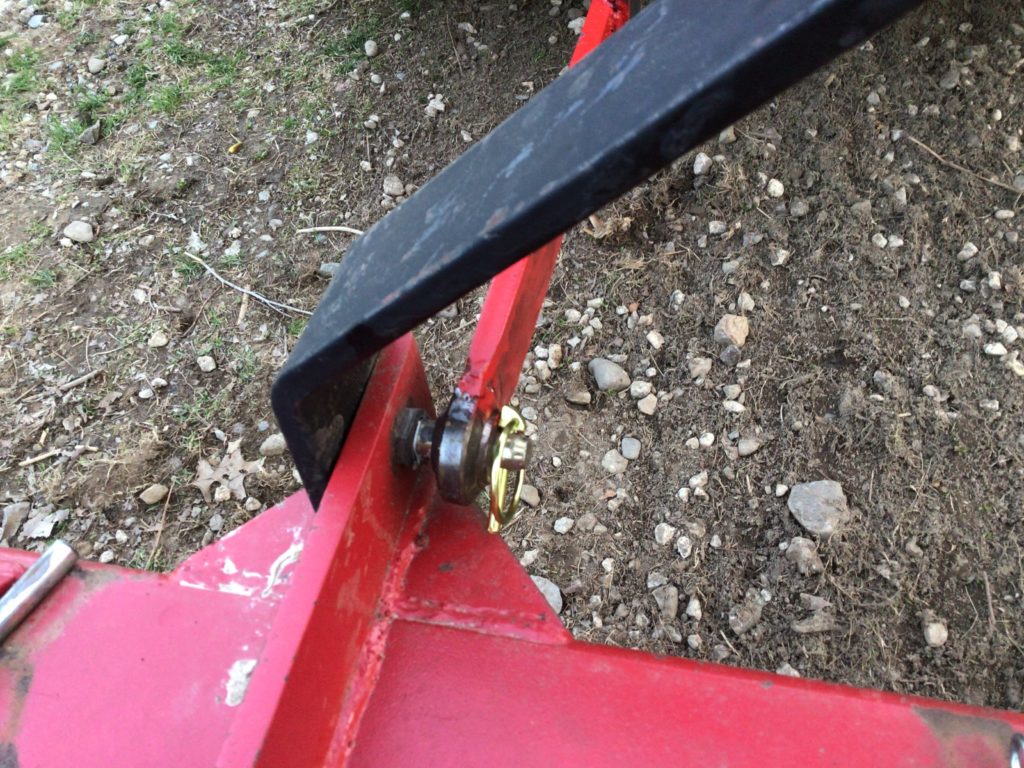
I made some lift arms out of some 1-1/2″ square bar stock. These worked great but no play to attach anything else other than that blade with that 17″ spacing:
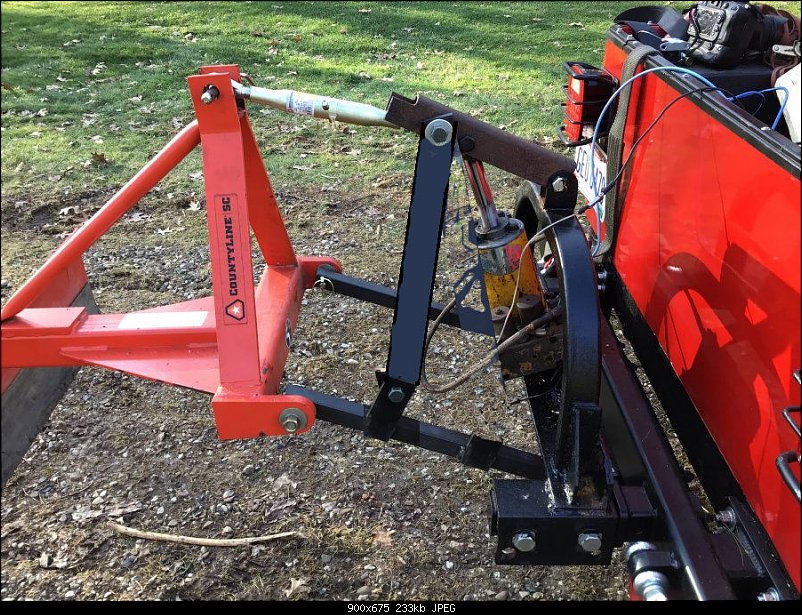
They were 24″ long and I did not get enough travel out of the adjustable top link.
So I made some 27″: long with swivel mounts. Now the top link is too short..
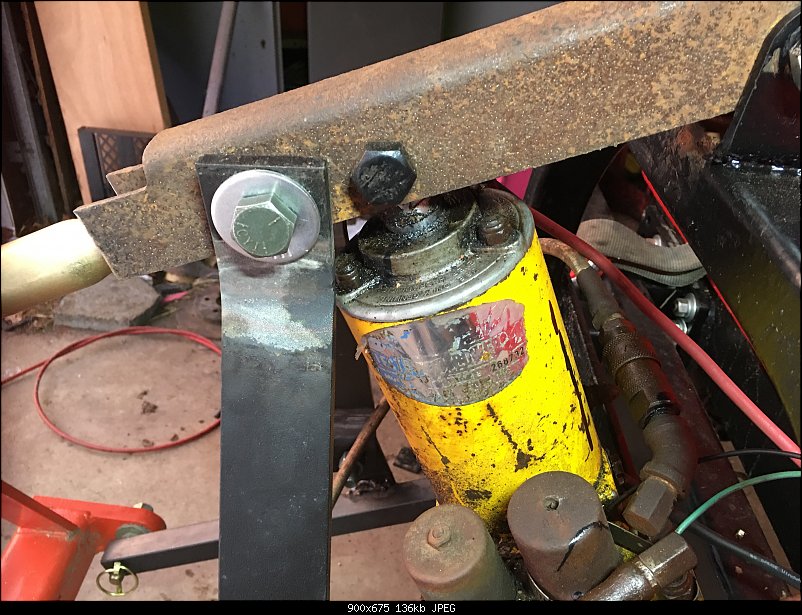
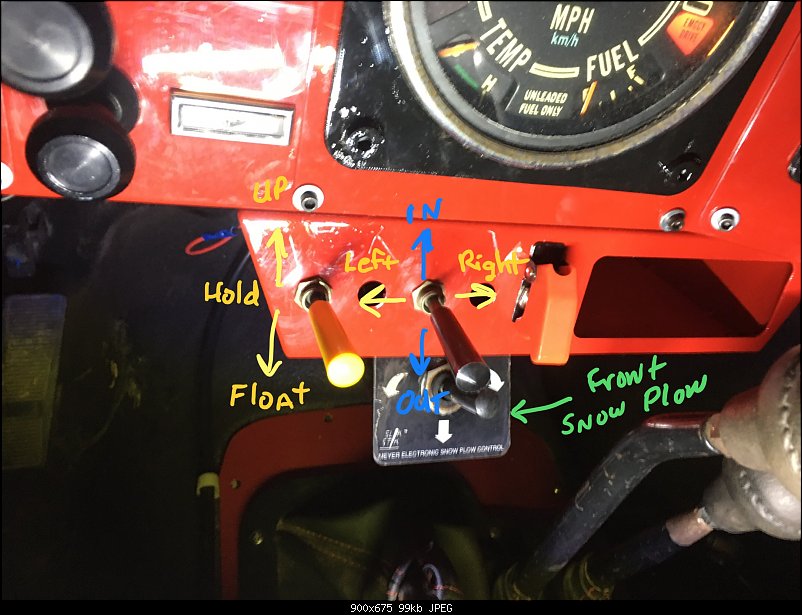
I mounted the lift relay to the frame and connected it with 0 gauge welding cable. Routed it through the jeep. Added the solenoid wiring.
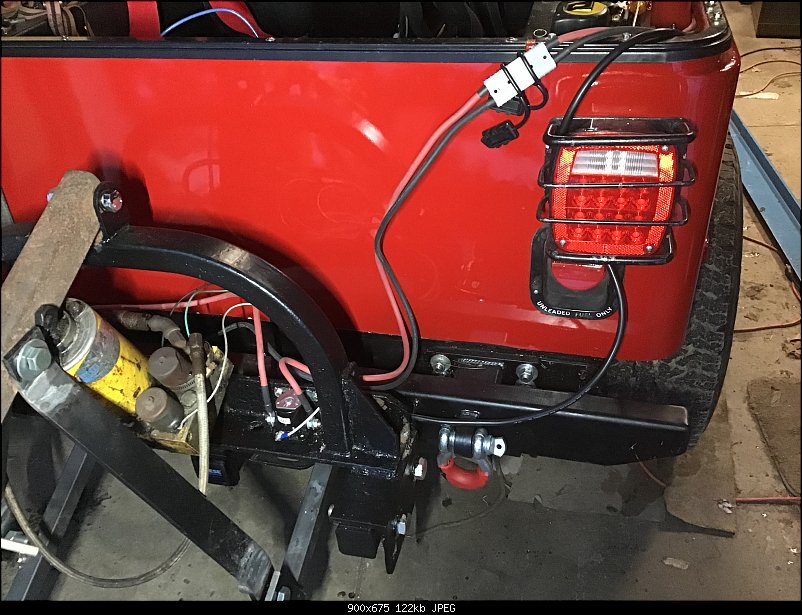
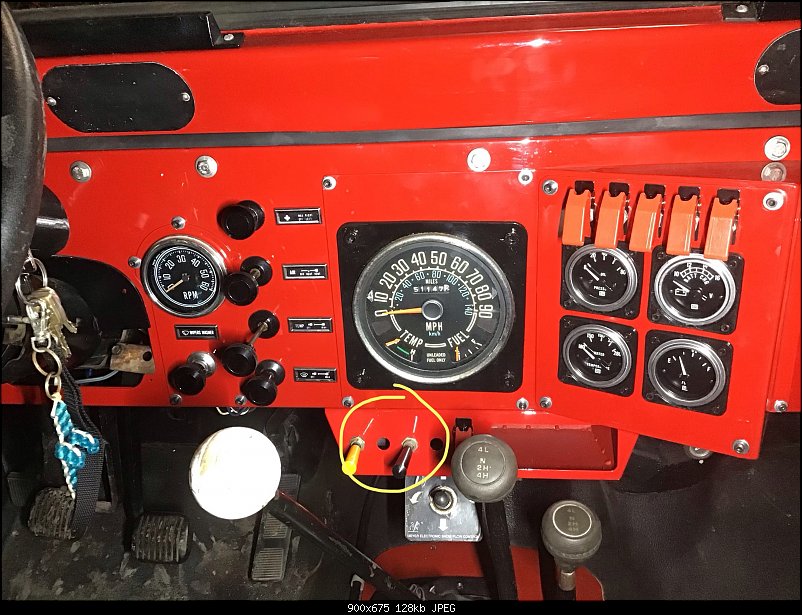
It uses the original switch to control lift, I’ll be adding power angle to this also.
I might put a hydraulic piston in for the top link so I can control the bite on my Box blade from the cab.
I’m adding some sway bars(?) to the lift arm to control the left and right sway on the blades.
If I had to do it again I would find an engine driven Hydraulic pump so I could replace the E-47 lift with a dual acting cylinder so I can have power lift and downforce.
Then I could add all the other goodies als like a Hydraulic motor for a post hole digger, Power angle and tilt.
John has sent us a couple of updates –
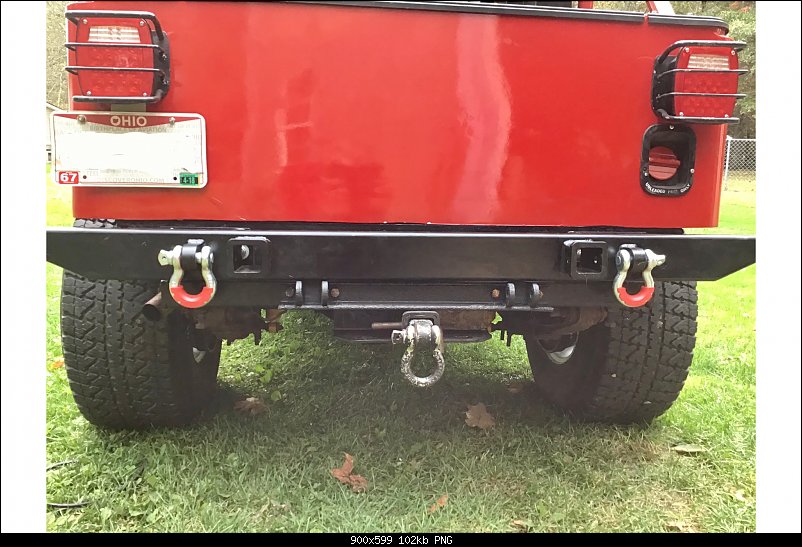
I recently changed the lift arm and hooked up my box blade.
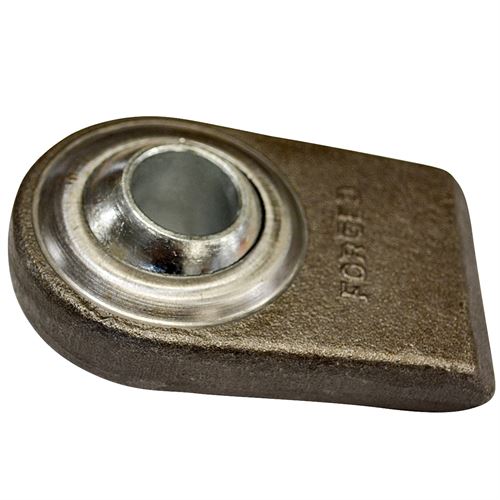
The lift arms have ball swivels on the ends so it’s easier to hook up.
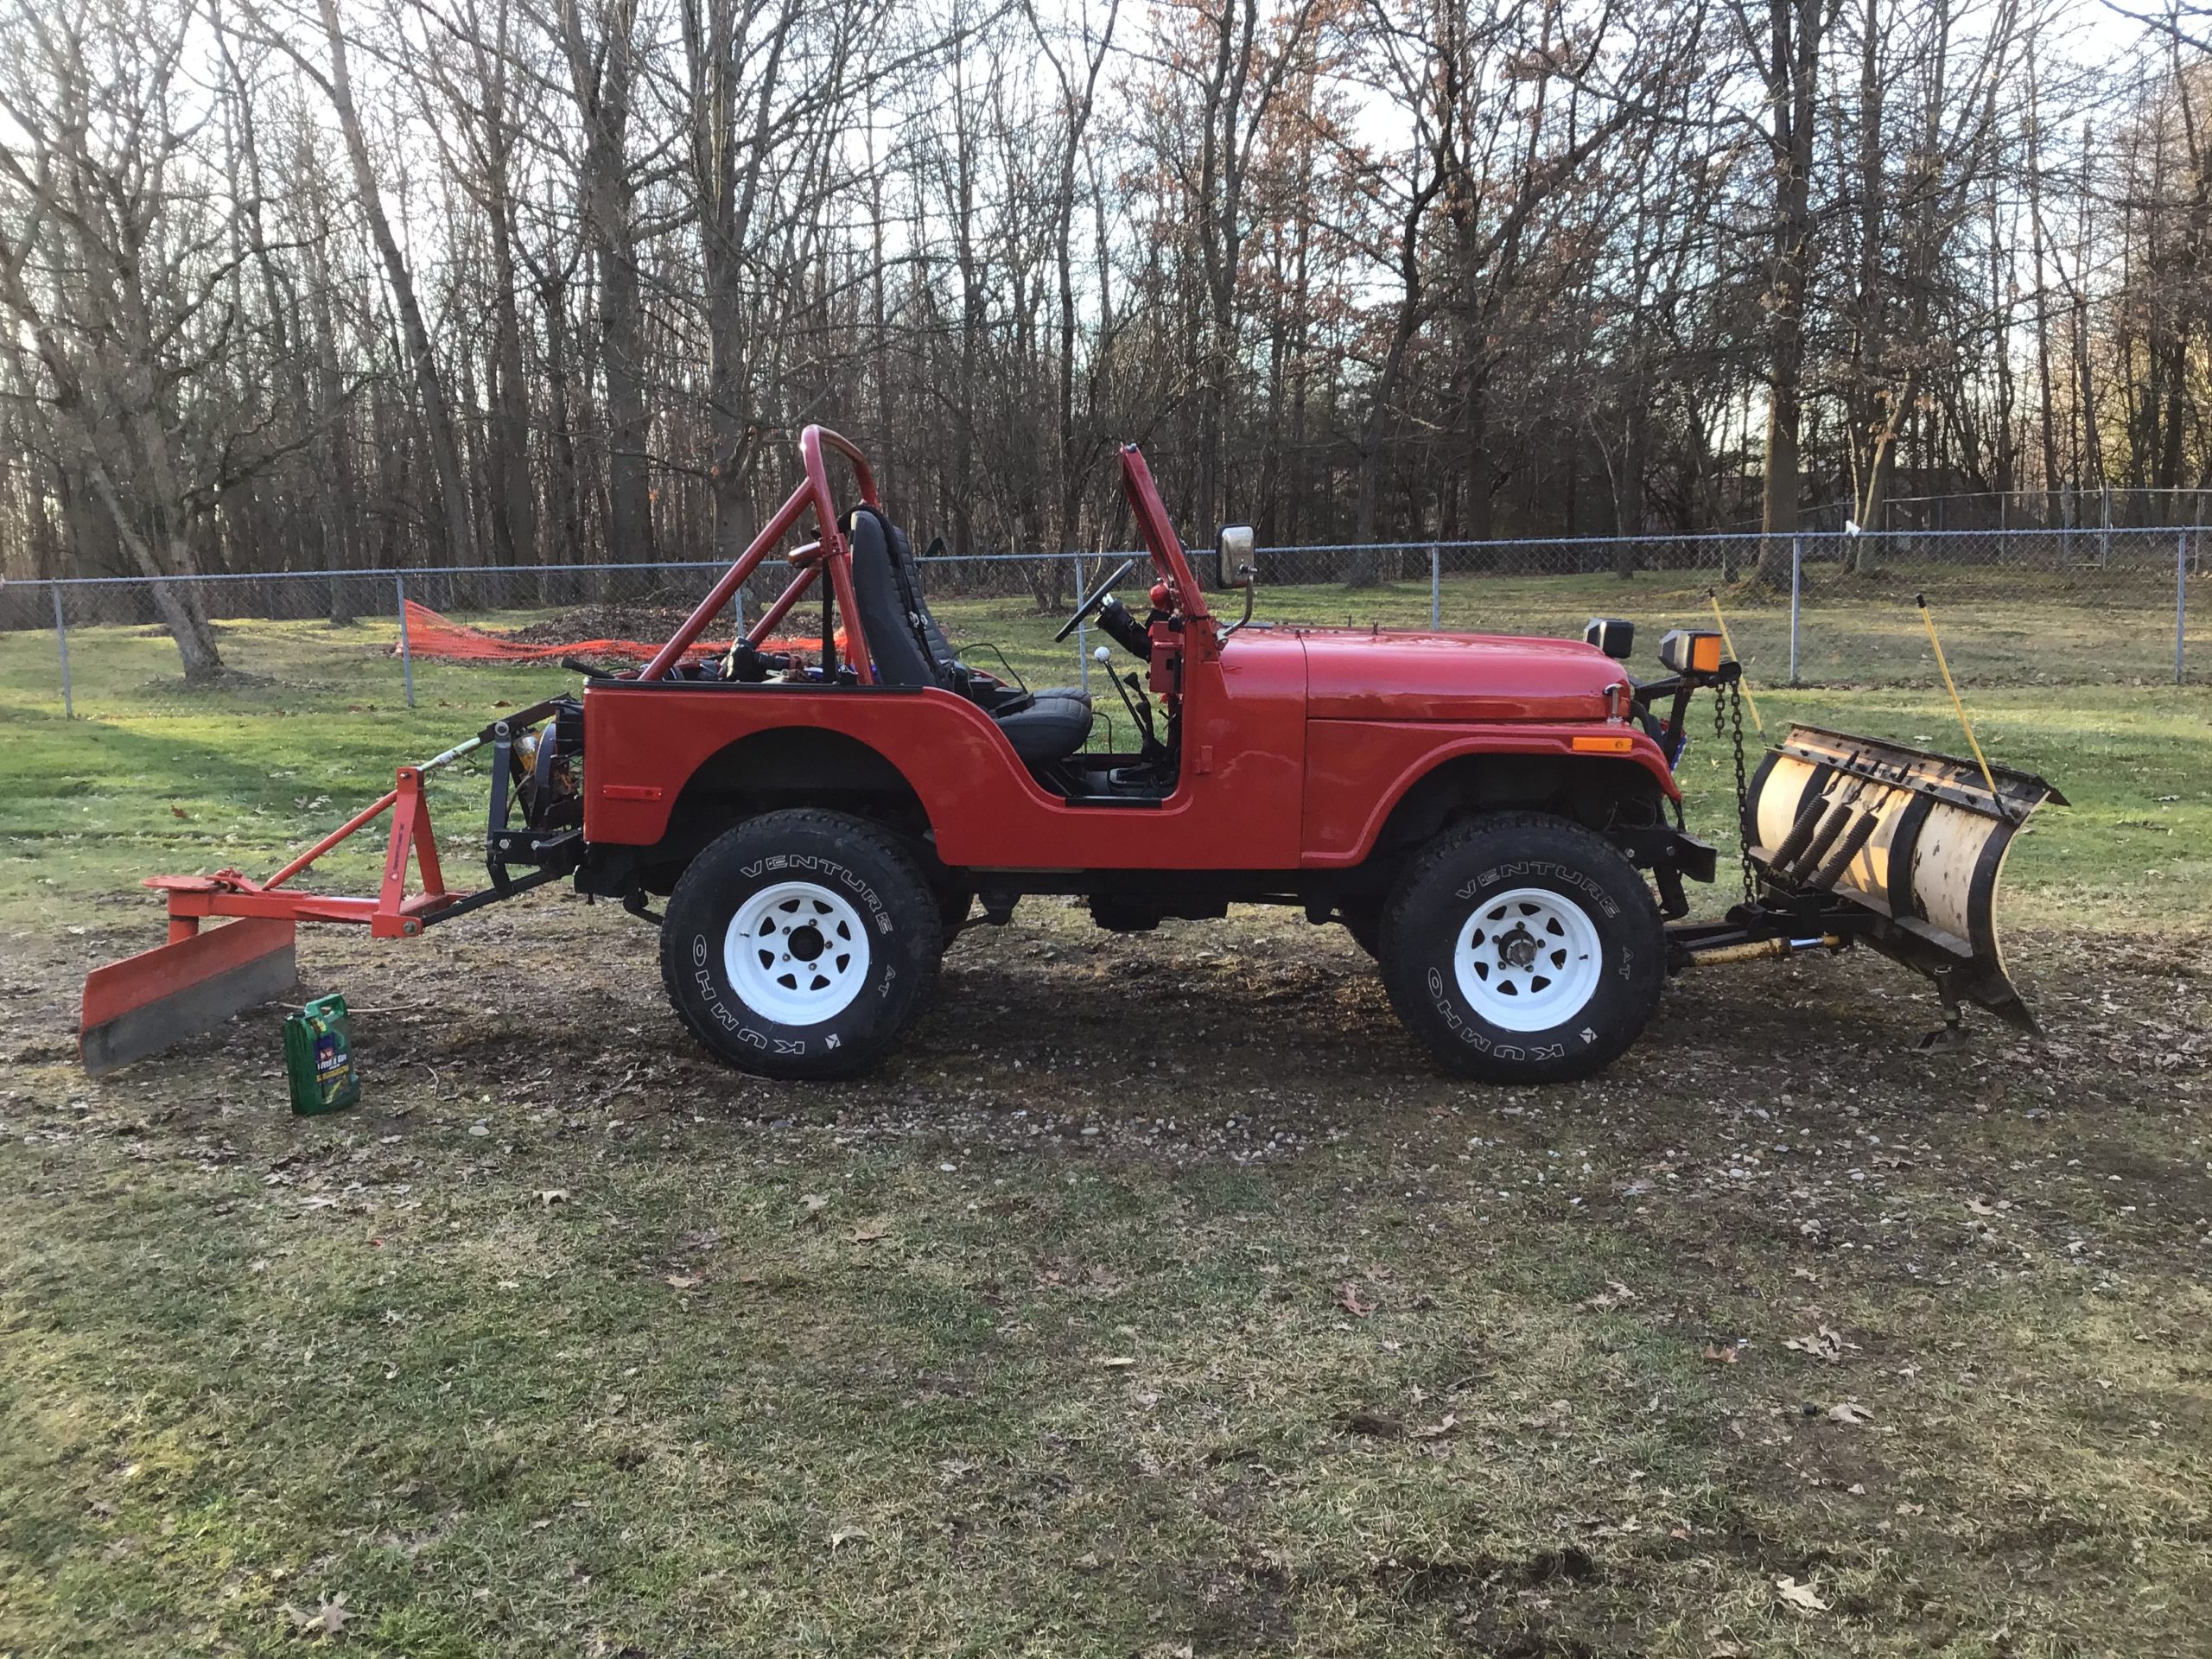
Here is the latest video of John’s 1976 Farm Jeep –
The complete post is available at http://www.earlycj5.com/xf_cj5/index.php?threads/my-3-point-hitch-setup.146847/#post-1646489 More information and details of how John started this project are at https://www.jeepforum.com/forum/f8/3-point-hitch-again-4408015/ John can be reached through either forum if you would like to contact him.