 |
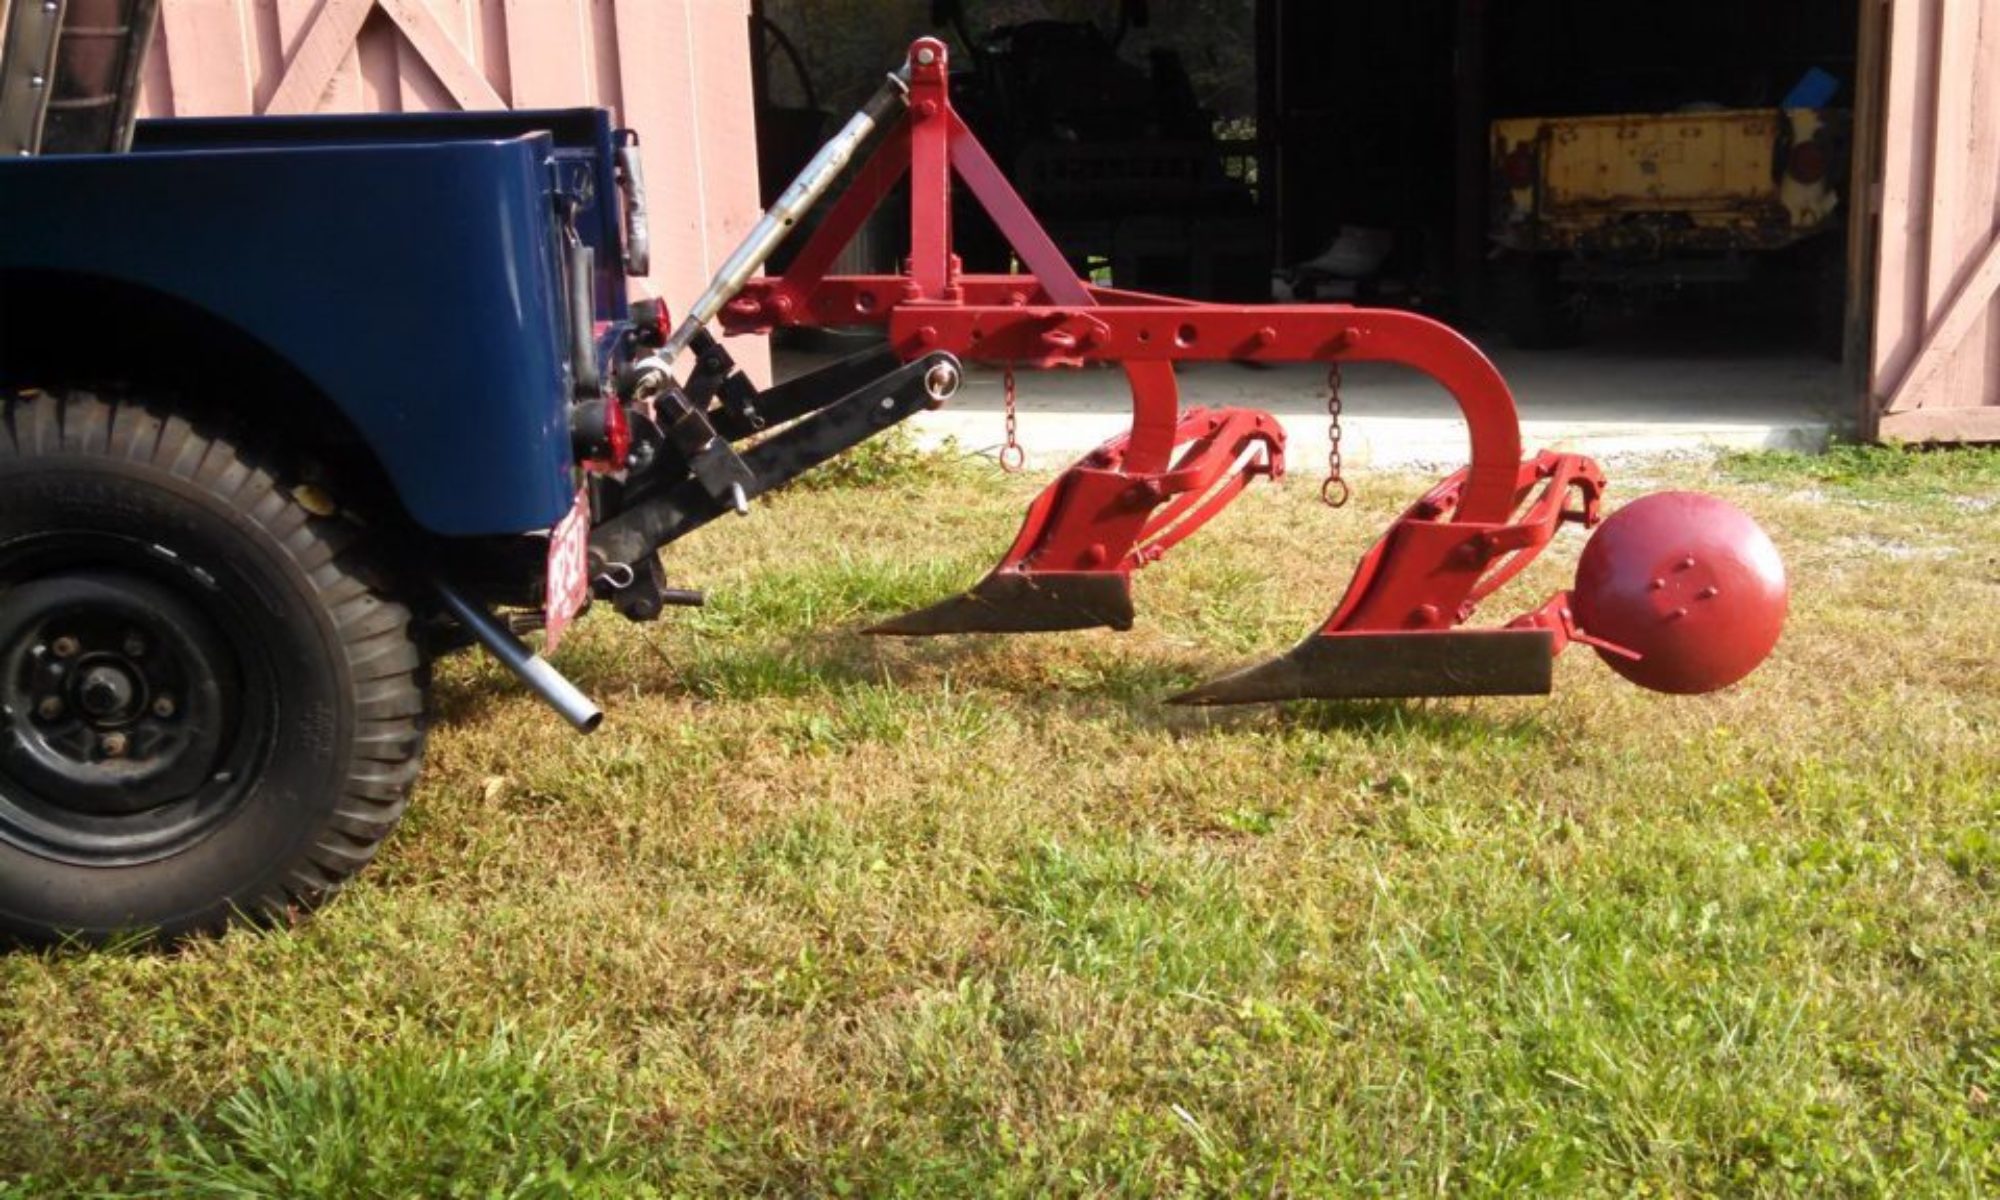
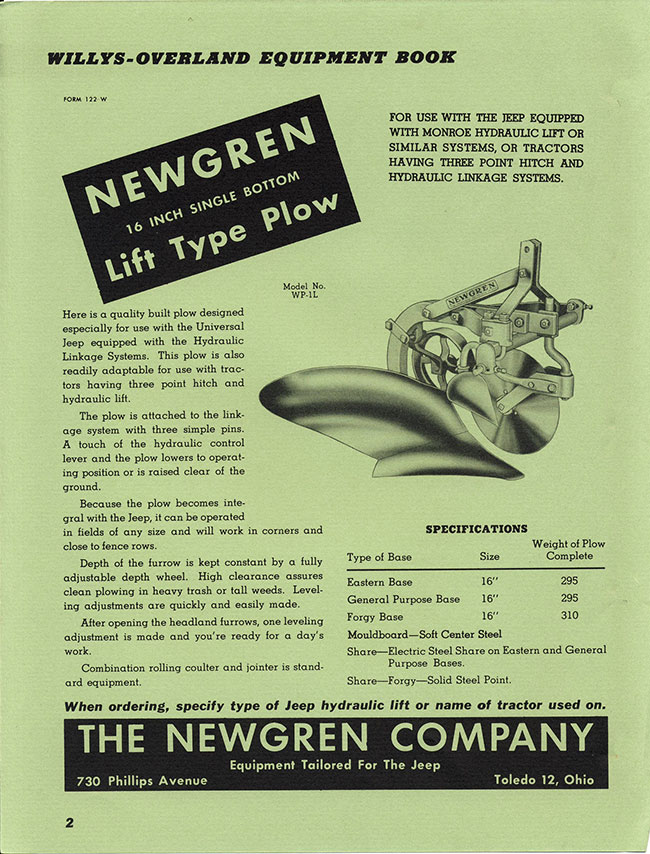
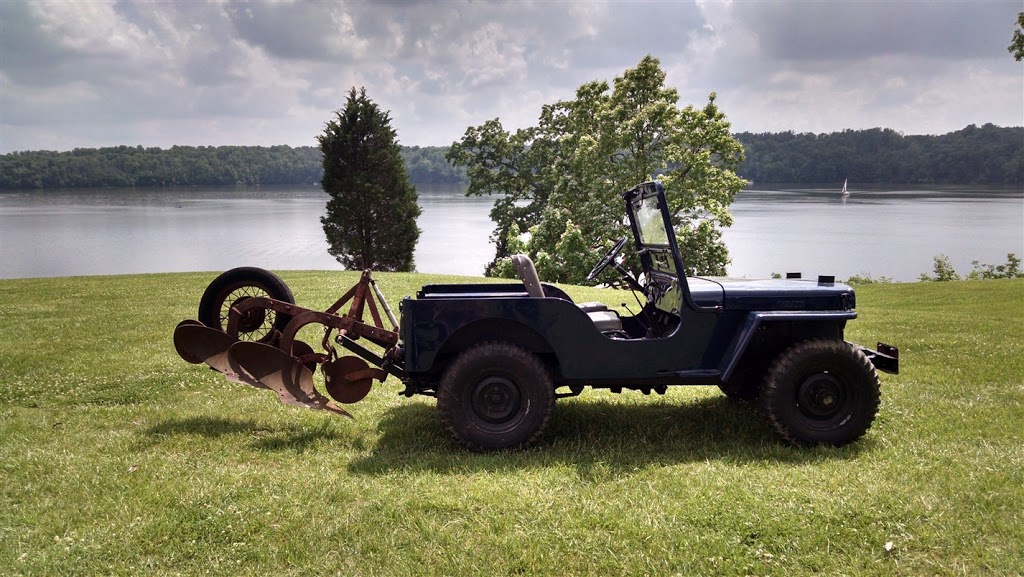
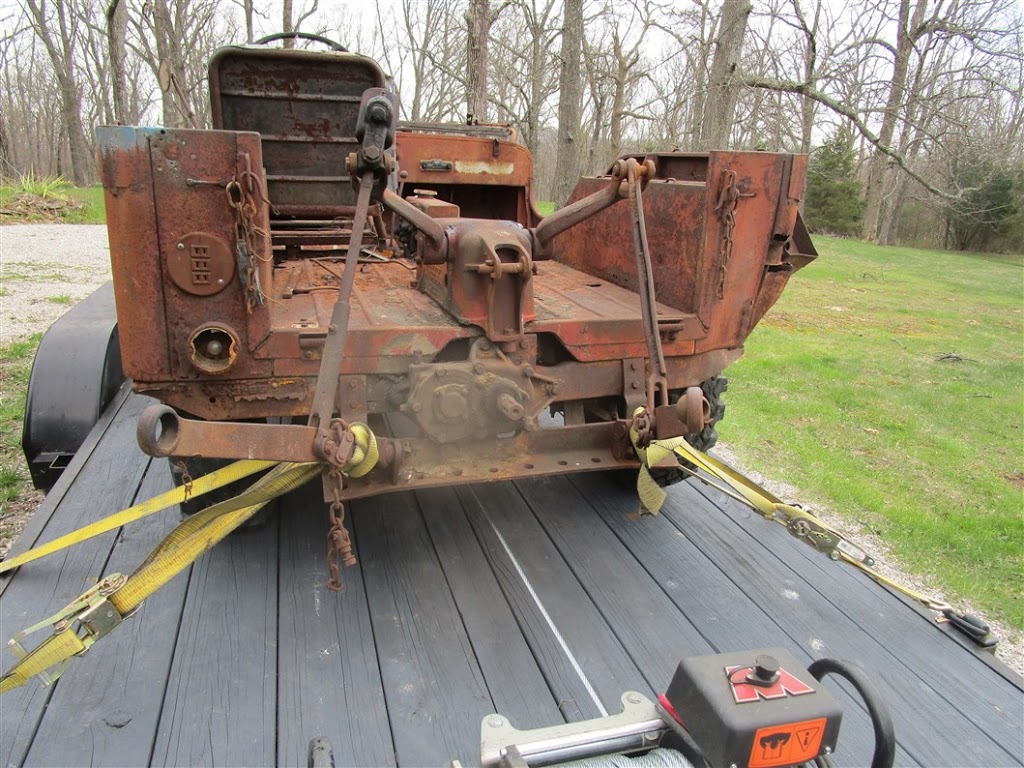
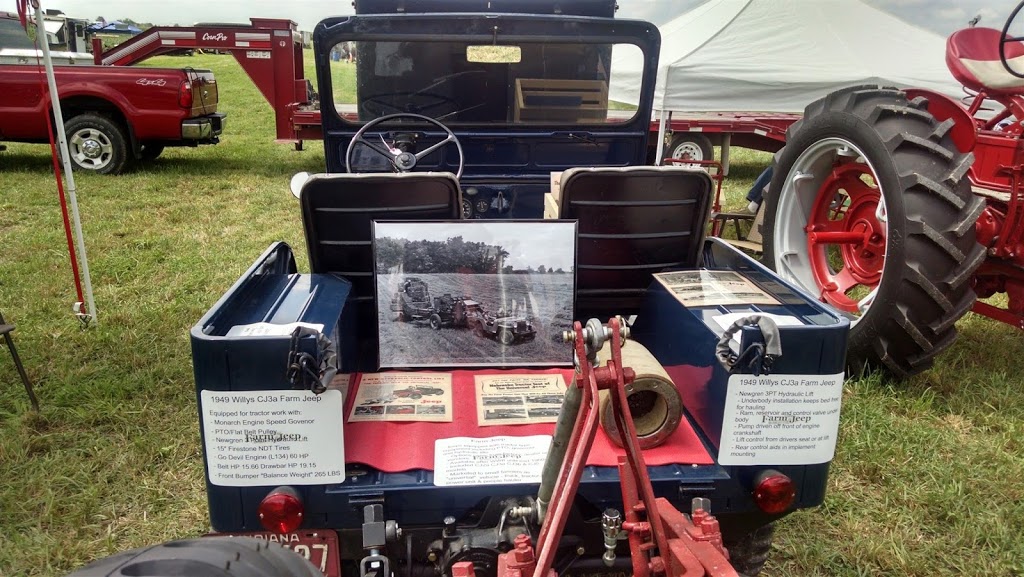
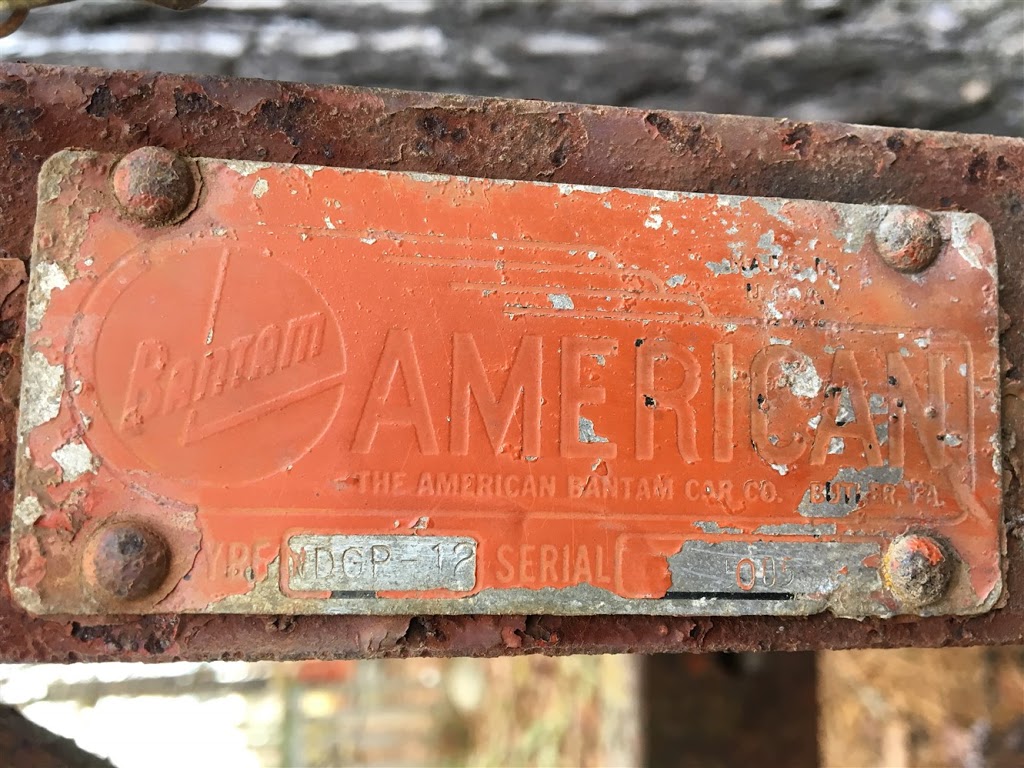
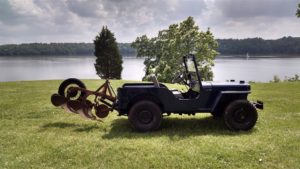
| Our 1949 CJ3a w/ Newgren lift and an American Bantam plow |
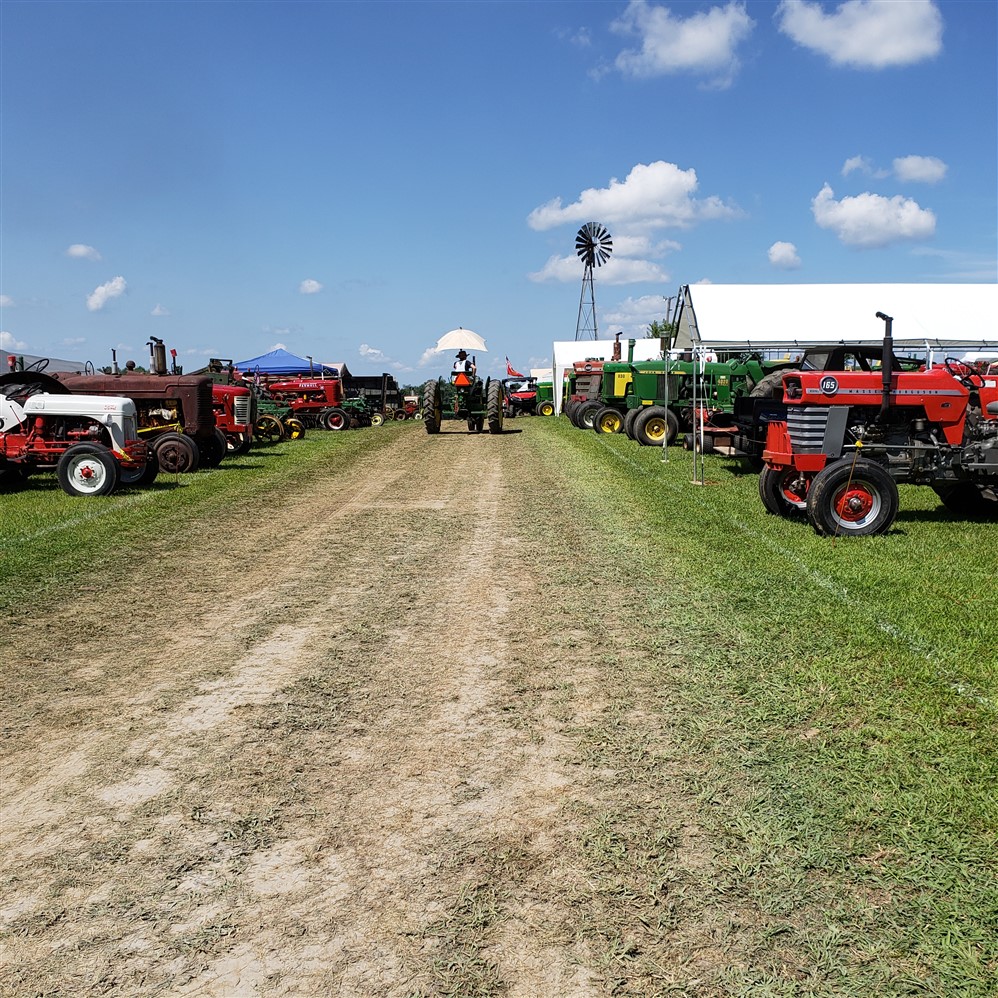
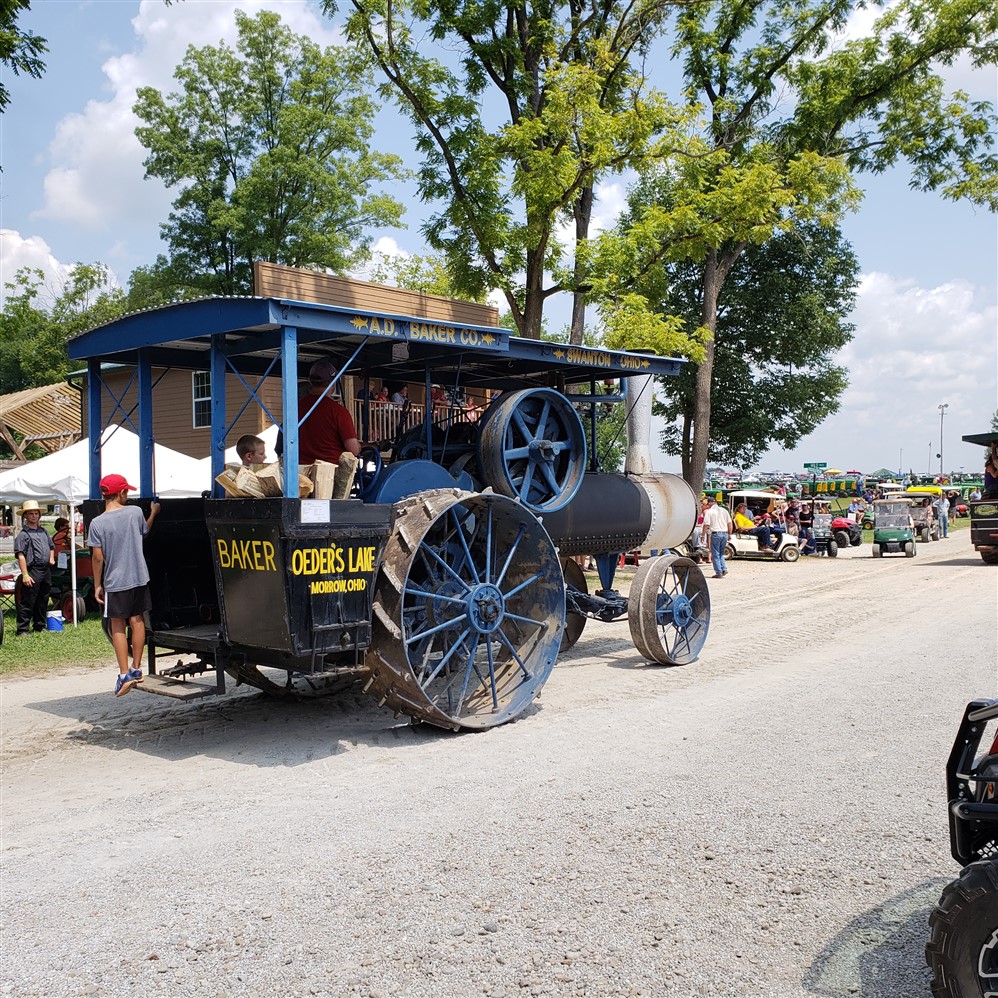
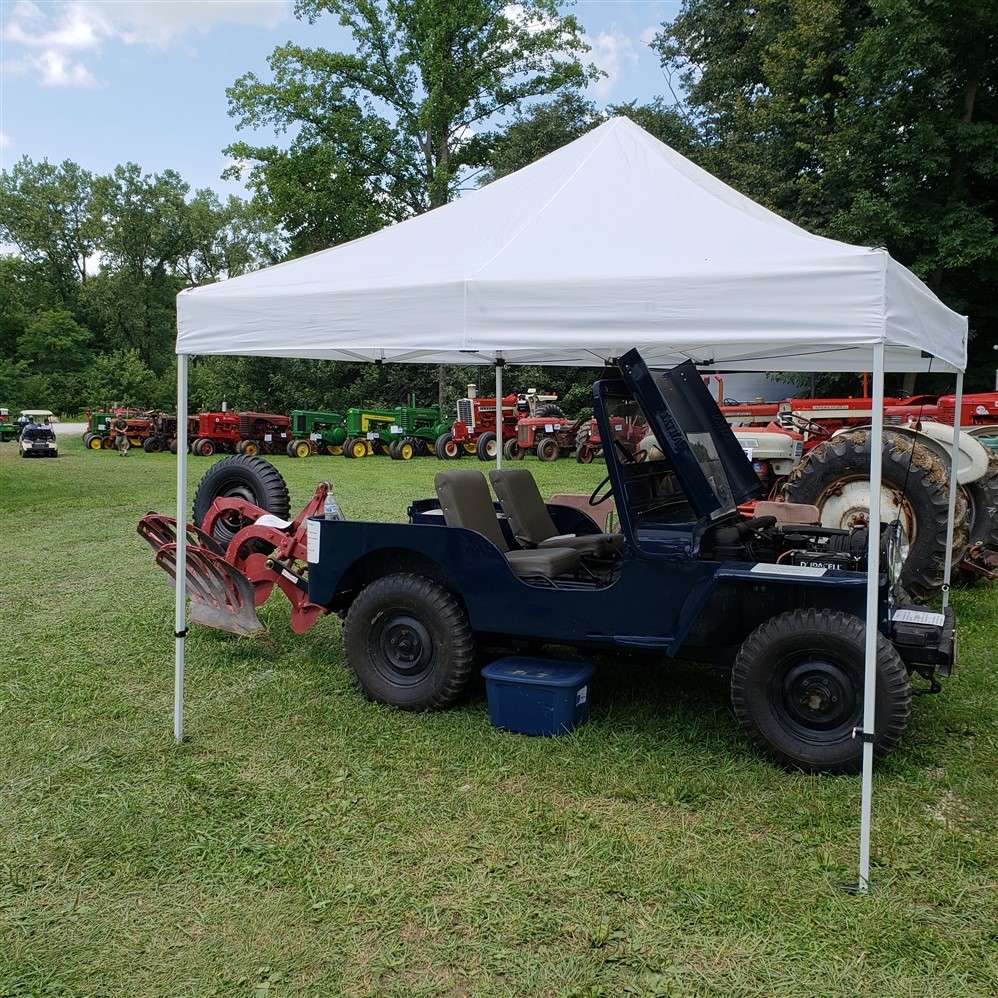
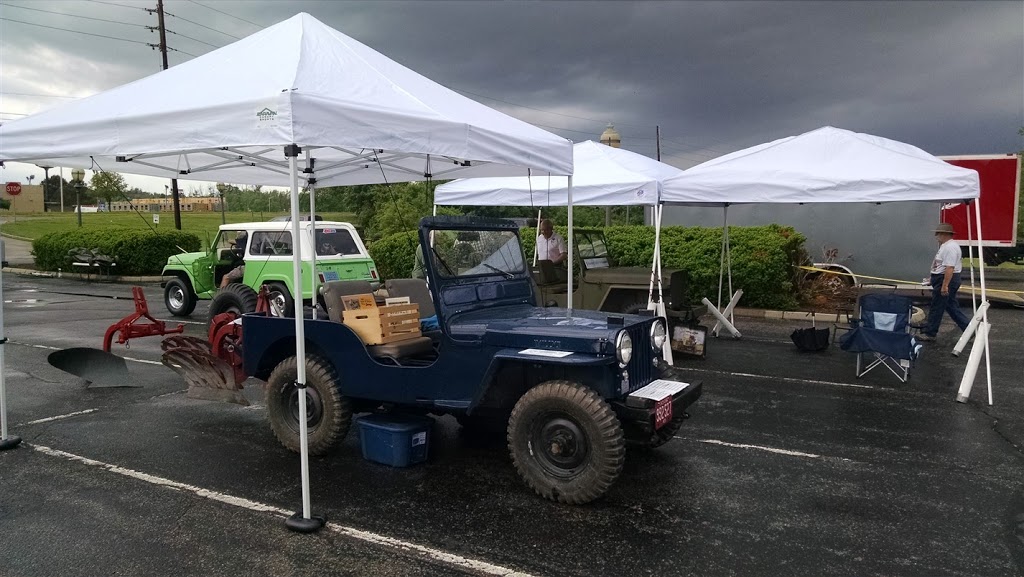
Spring and summer will find Farm Jeep on the road. We travel to both Jeep shows and antique machinery (a.k.a. tractor) shows in the Midwest. This “beauty” shot above was taken at this year’s Willys Jeep Rally held at Hueston Woods Lodge in southeastern Ohio. While we are only half way through the show season, we though it might be fun to share a few of our experiences.
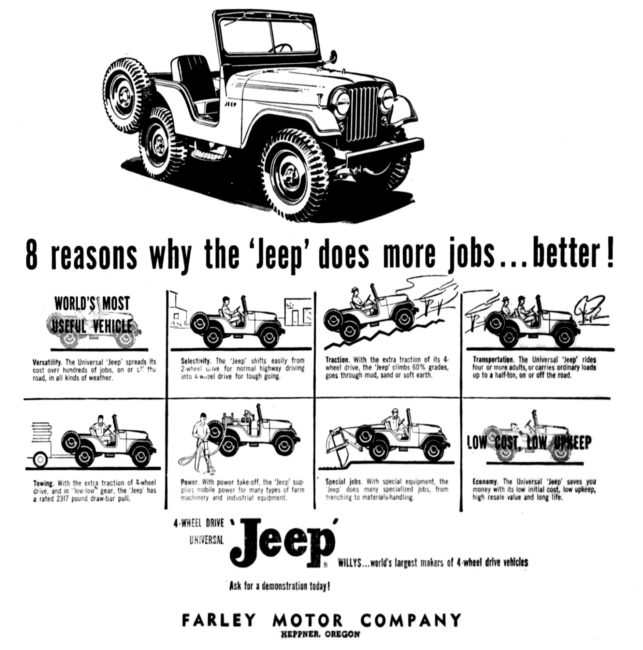
Why is a Jeep better than a tractor?
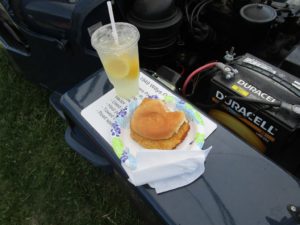
First, we need to say that we love tractors. We have tractors on the farm. In fact. we will tell you that tractors are better at being tractors than Jeeps are at being tractors. But tractors aren’t good at being other things. For example, a tractor doesn’t make a good dinning surface. A flat fender Jeep does.
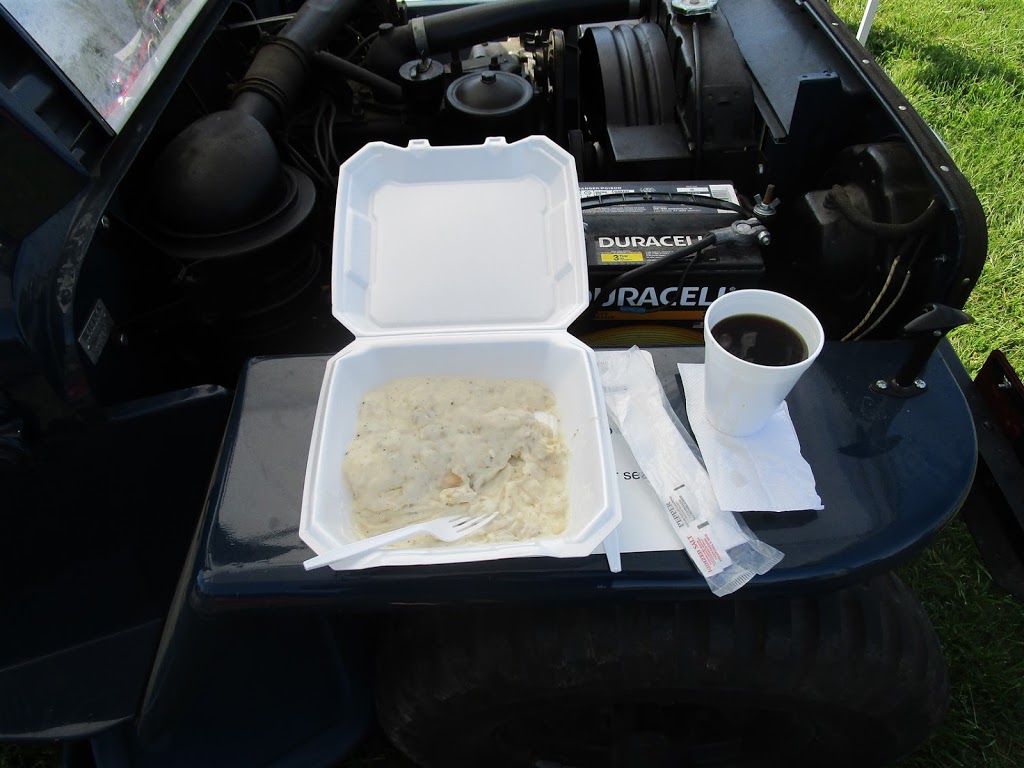
Here are two examples from a recent show. Breakfast, of course, is the traditional biscuits and sausage gravy with a steaming cup of coffee. Eating this dish on your lap is not a good idea. Just try to find a nice flat surface on your Ford 8N,
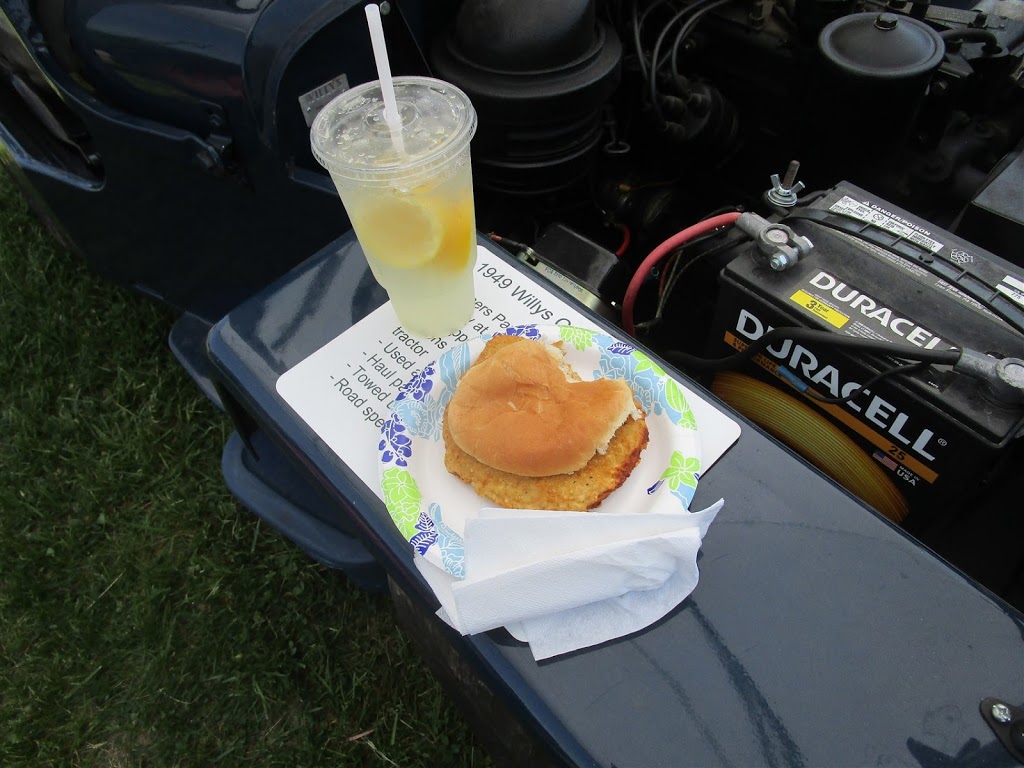
Lunch is, again, a traditional Midwestern fare of lemonade and a fried, breaded pork tenderloin. Notice how both of these dishes fit so nicely on the Jeep.
 This display gives us an opportunity to compare tractor and Jeep shows. At Jeep shows, you may have one or two food vendors. At farm shows, it is much more like a county fair. In fact, many tractor shows are held at fairgrounds, where there are often food stands run by local churches and social organizations in addition to multiple food trucks. Without a doubt tractors are better at attracting food than Jeeps.
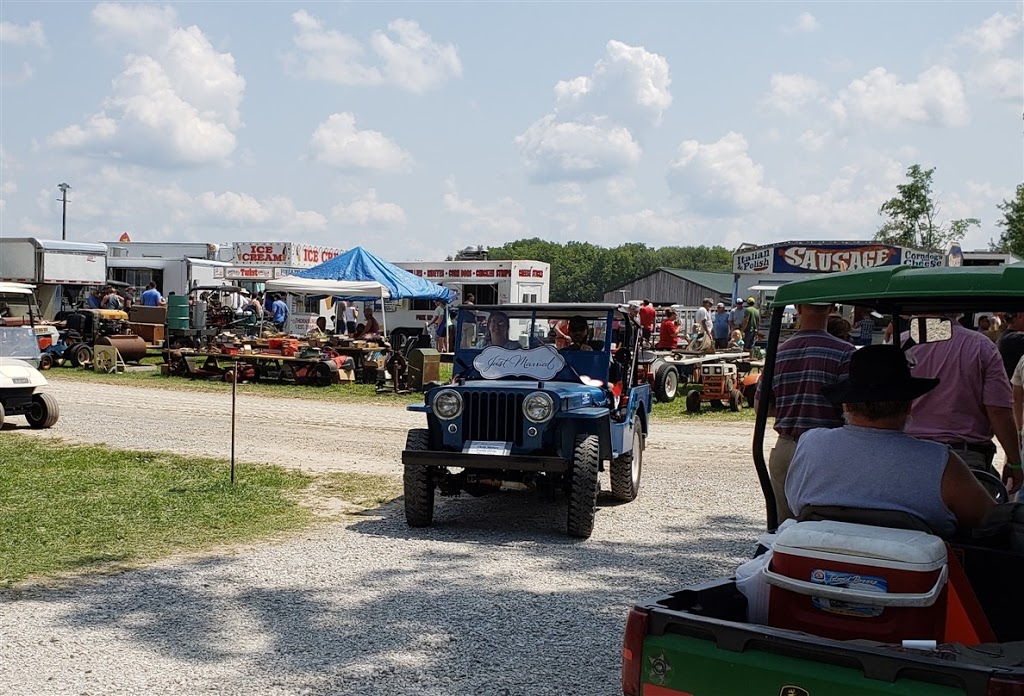
But if you are at home and have a hunger attack for an ice cream cone and you own a tractor, you are out of luck. You can’t just hop on and drive to town. At tractor shows, you often see tractors being driven around aimlessly. If the owners are lucky there may be a parade, or better yet, a tractor drive on a real road. It is sad that these beautiful machines can’t be enjoyed year round. It is clear that owners want the pleasure of a drive. We politely tell the owners (and wives and kids) they should get a Jeep. While tractors may be better at attracting food, they aren’t good at fetching. And a Jeep can do all those tractor things, like plowing the garden, too. Simply put, Jeeps are better than tractors.
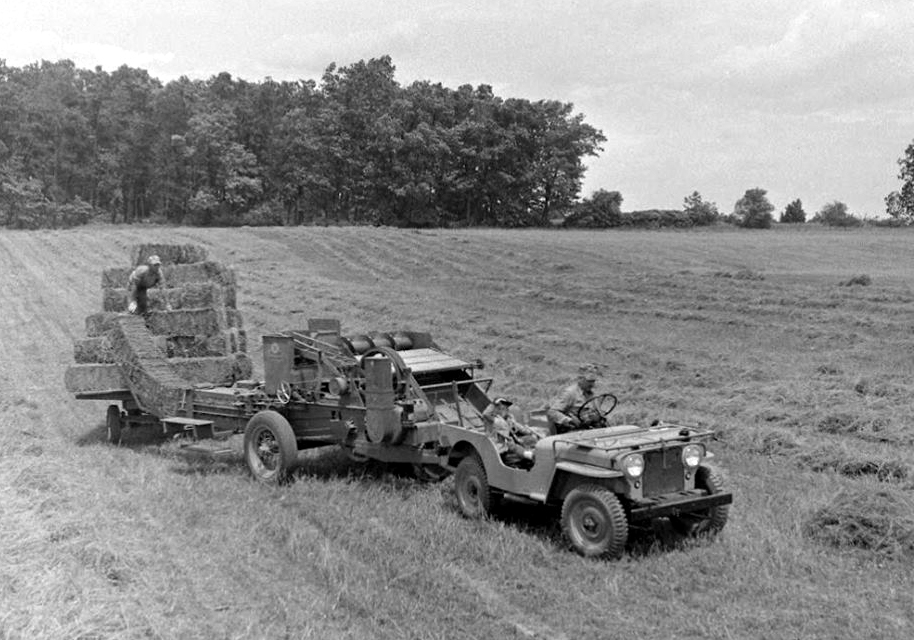
Making Hay
As we have written here, we want our display to be educational and to tell the Farm Jeep story even if we aren’t around. The picture below is displayed on the underside of the raised hood and is an attention grabber for sure.
Since we started displaying the picture, we have heard more stories about making hay with the Jeep than any other farm use. The most common story teller is someone (man and woman), who like the little boy in the passenger seat, rode along with a dad or uncle.
At farm shows, there is also discussion of the baler and its auxiliary engine. In all cases, there is praise for the little Jeep’s ability to move quickly between fields. This was especially important for contract balers, who moved equipment from farm to farm. Time saved is money made.
Questions, Questions and They Already Know the Answer
At Jeep shows, we do hear good stories, but we are often asking as many questions of other Jeepers as we answer. At tractor shows we are confronted with lots of questions. Although we have attended some shows for the past several years, there are always a large number of first timers who have never seen a Farm Jeep.
We are compiling a list of frequently asked questions (FAQ) that we hear over and over again, along with answers to less frequently asked questions. Those include such items as vehicle weight and gear ratios. From farmers, the number two most popular question is “Can that Jeep really pull that two-bottom plow?” This one we try to answer with data, primarily from the Nebraska Tractor Test. The Farm Jeep was rated about the same as a Ford 8N, a comparison readily understood by these farmers.
The number one and most annoying question – “Have you plowed with it?” It is annoying because we always plan to get the plow in the ground before each show and don’t make it happen. Then there are the “regular” attendees who will always ask and they already know the answer. We do try to remain civil.
.